Fourdeck workspaces: every brand and client in its own space
· 4 min read
In Fourdeck, every brand or client lives in its own workspace. A workspace's channels, posts, team, approval settings, queue times and tags belong to that workspace alone, so the risk of publishing one client's post on another client's account disappears from the start. This guide covers creating a workspace, switching between workspaces and the workspace settings.
What a workspace keeps separate
- Connected channels and their posts
- Team members, their roles and permissions: someone can be an Editor in one workspace and an Admin in another
- The approval flow and revision items
- Channel queue times and tags
- Plan and billing: each workspace has its own plan
Billing is per workspace, not per user. Team members and clients you invite to a Team workspace join at no extra cost.
Create a new workspace
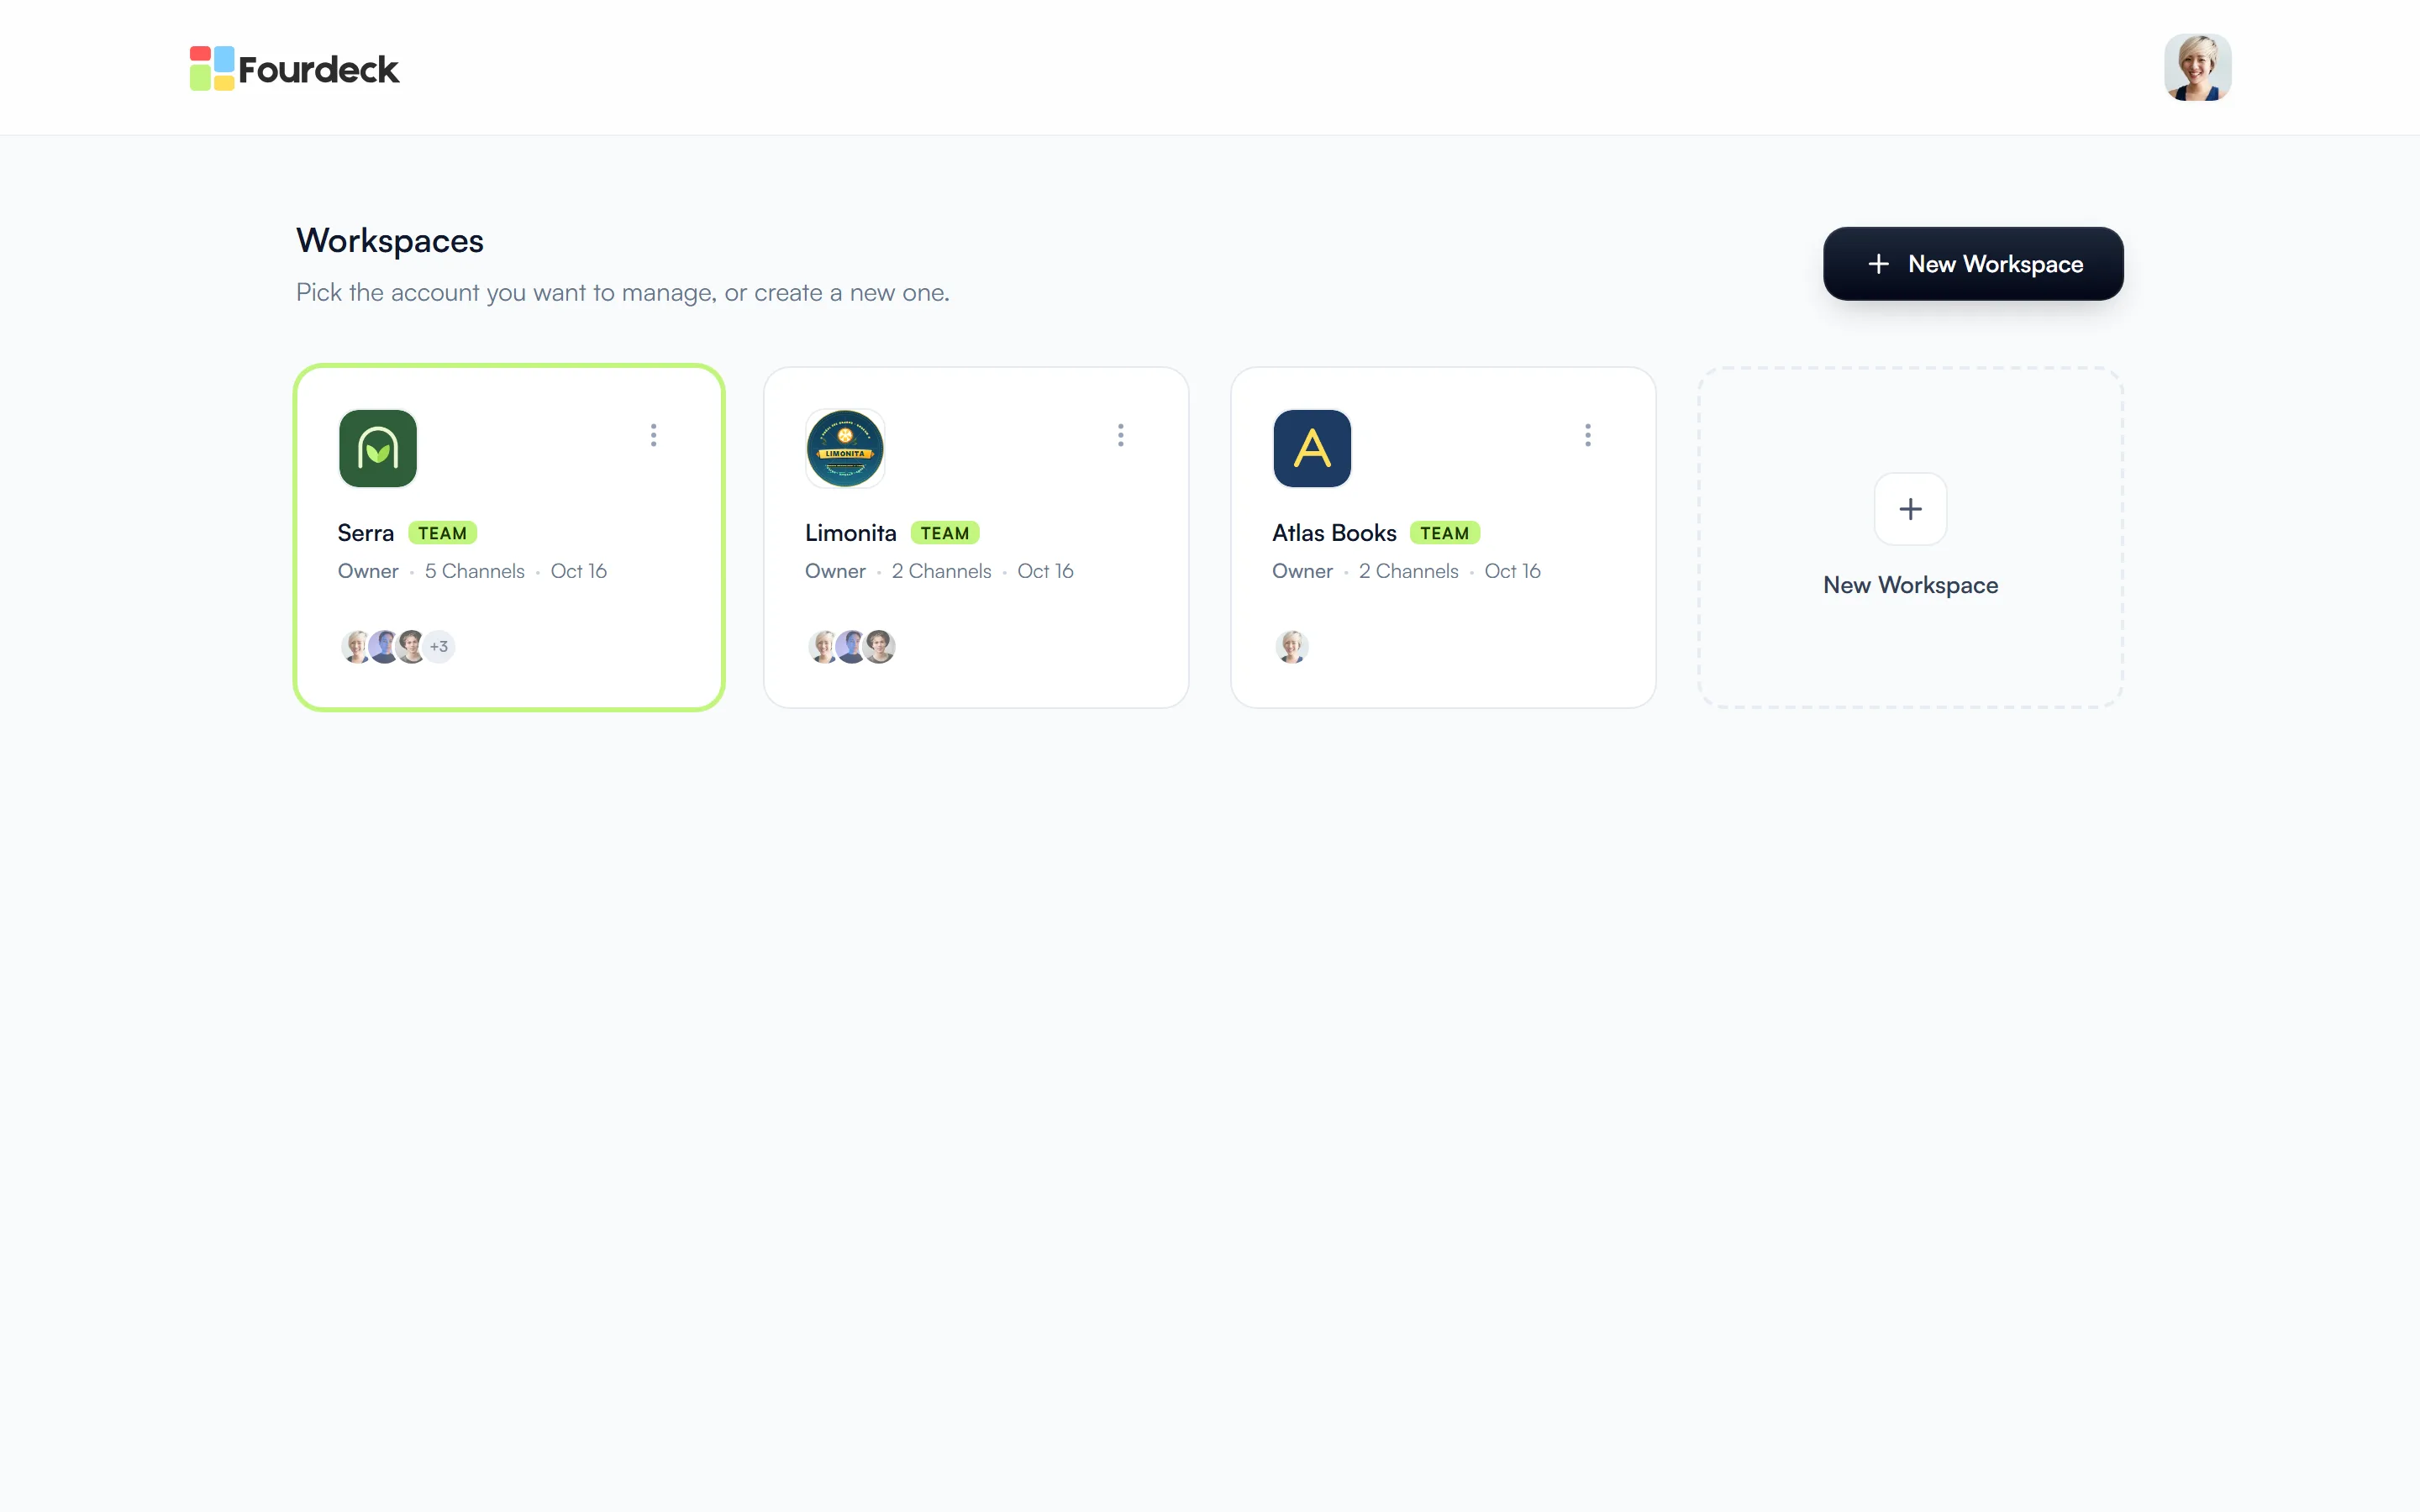
The Workspaces page shows all of your workspaces. Each card shows the workspace logo, its plan, your role there, the number of connected channels and the team members. To add one, press the “New workspace” button in the top-right corner.
Setup takes four steps:
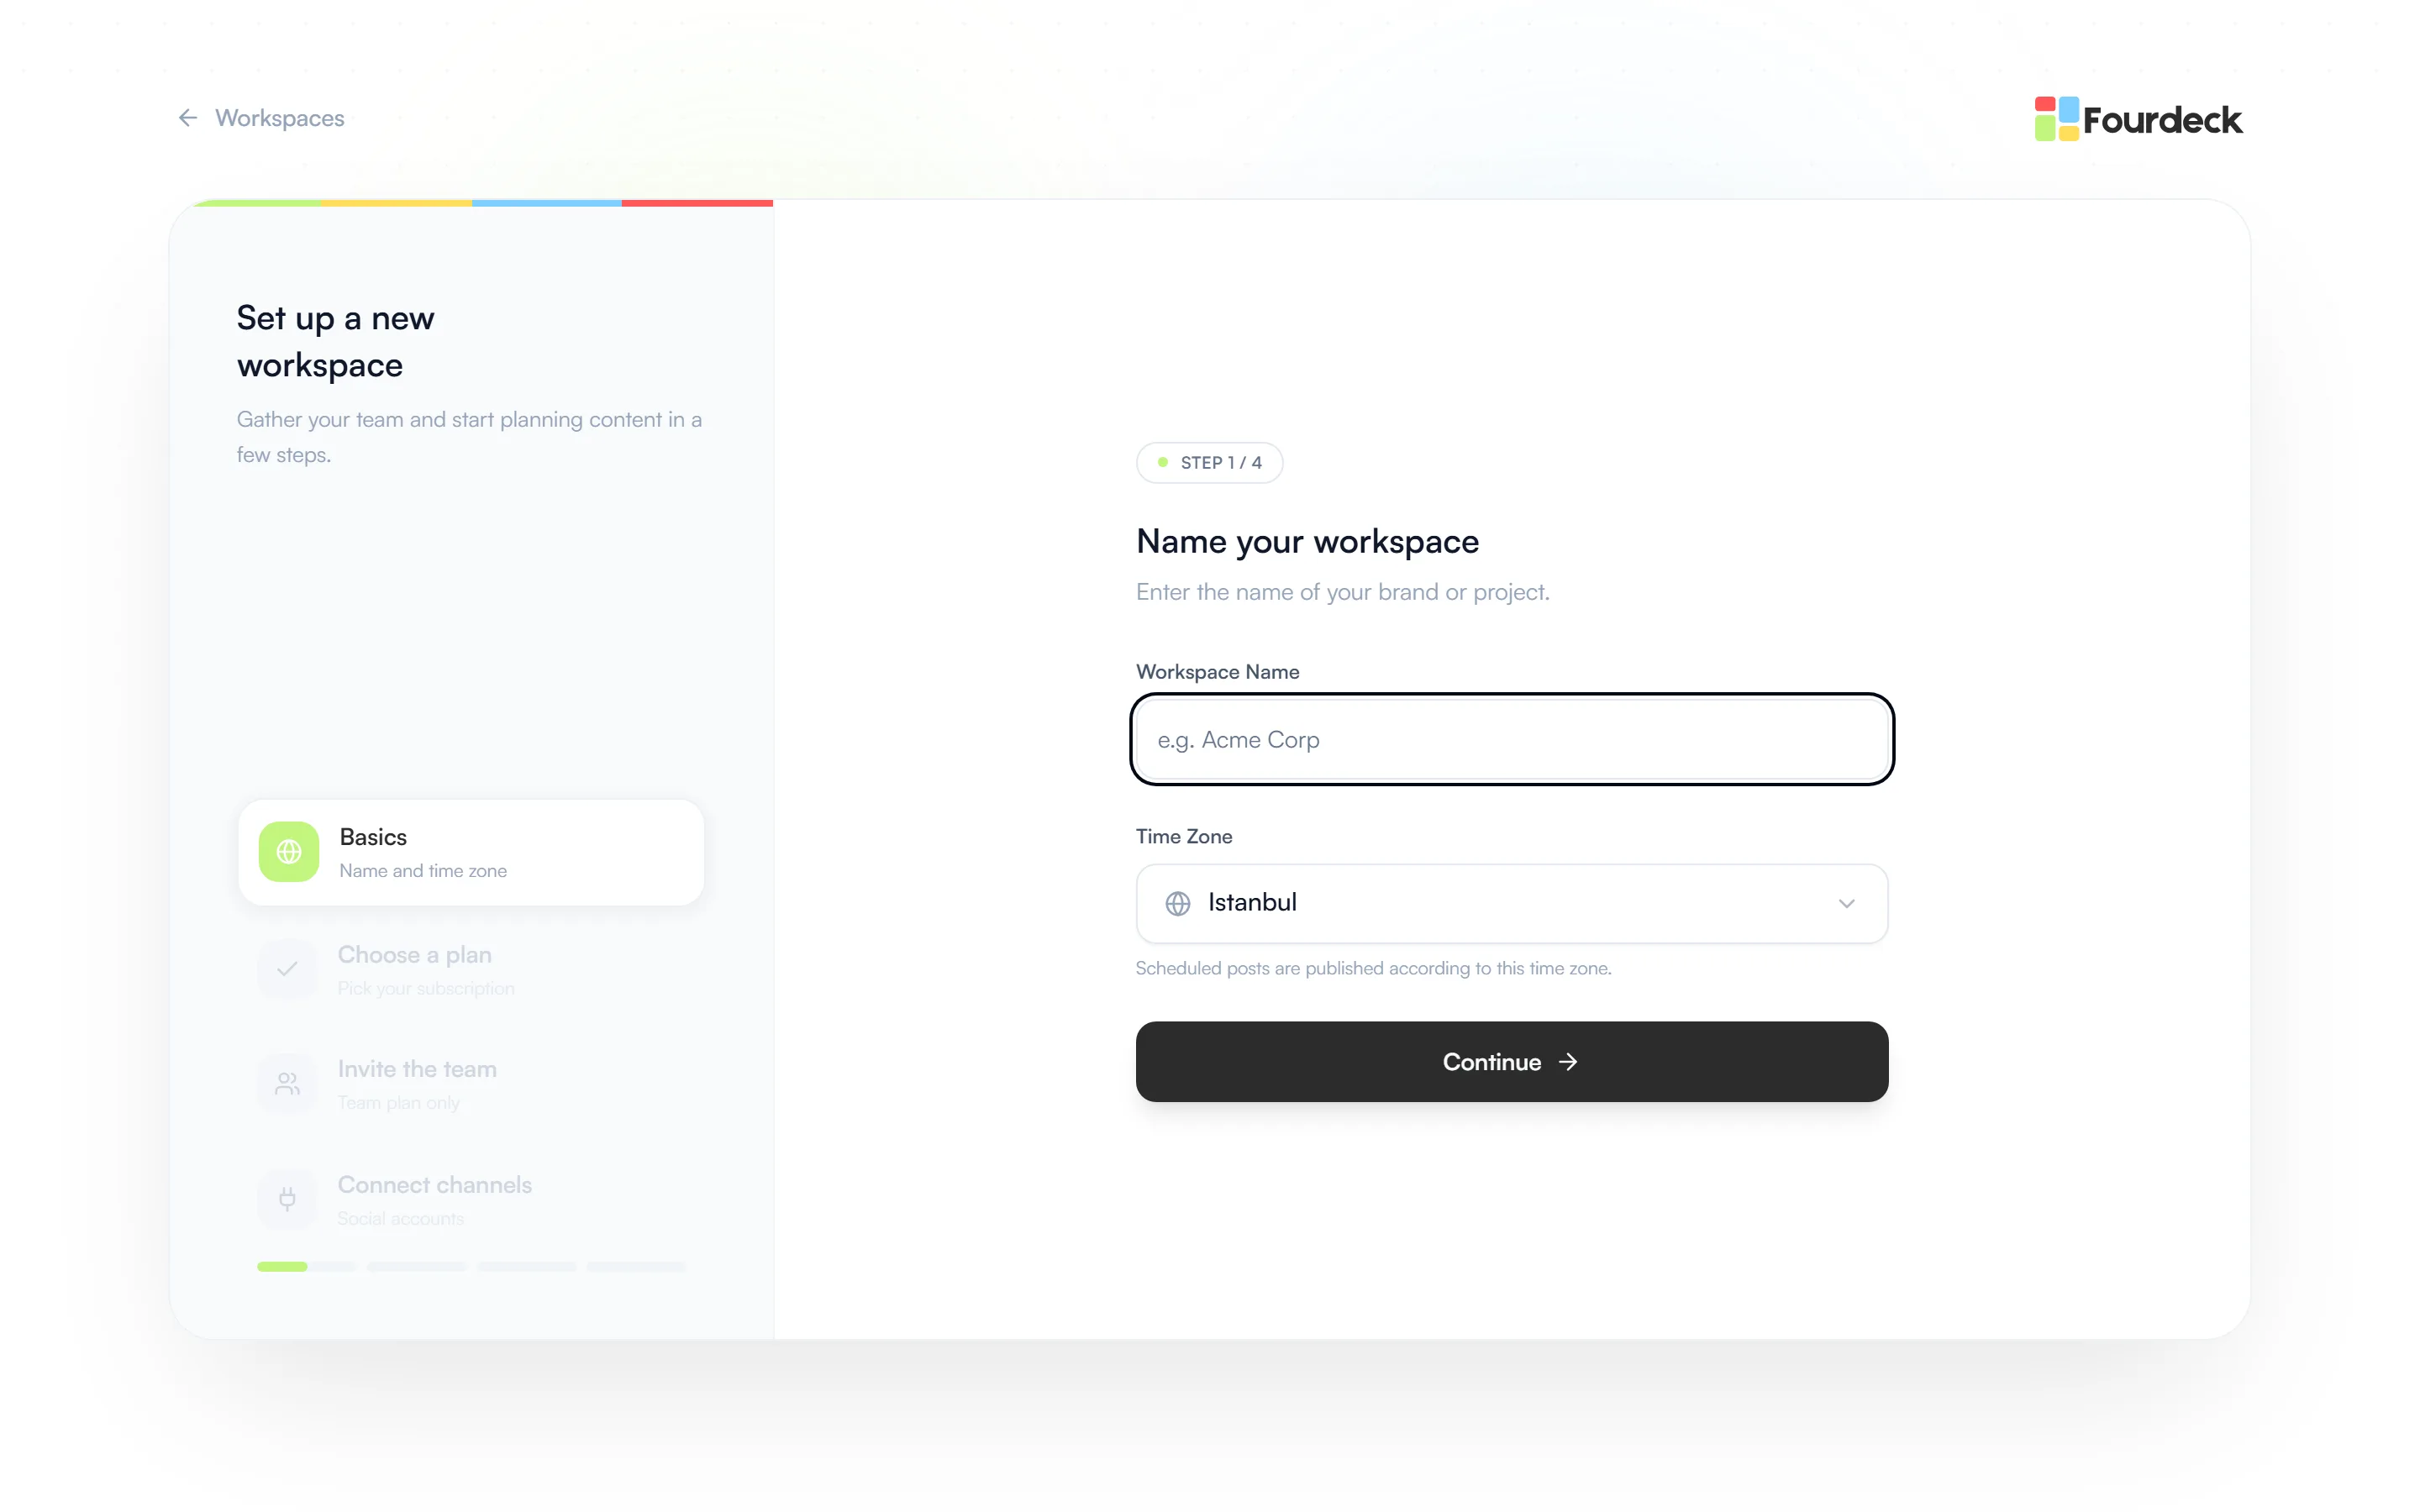
- Basics: give the workspace the brand's or project's name and pick its time zone. Scheduled posts publish in this time zone.
- Choose a plan: pick the plan for the workspace.
- Invite the team: invite your teammates and your client. This step is for the Team plan.
- Connect channels: connect the workspace's social accounts. You can skip this step and connect channels later from the settings.
Switch between workspaces
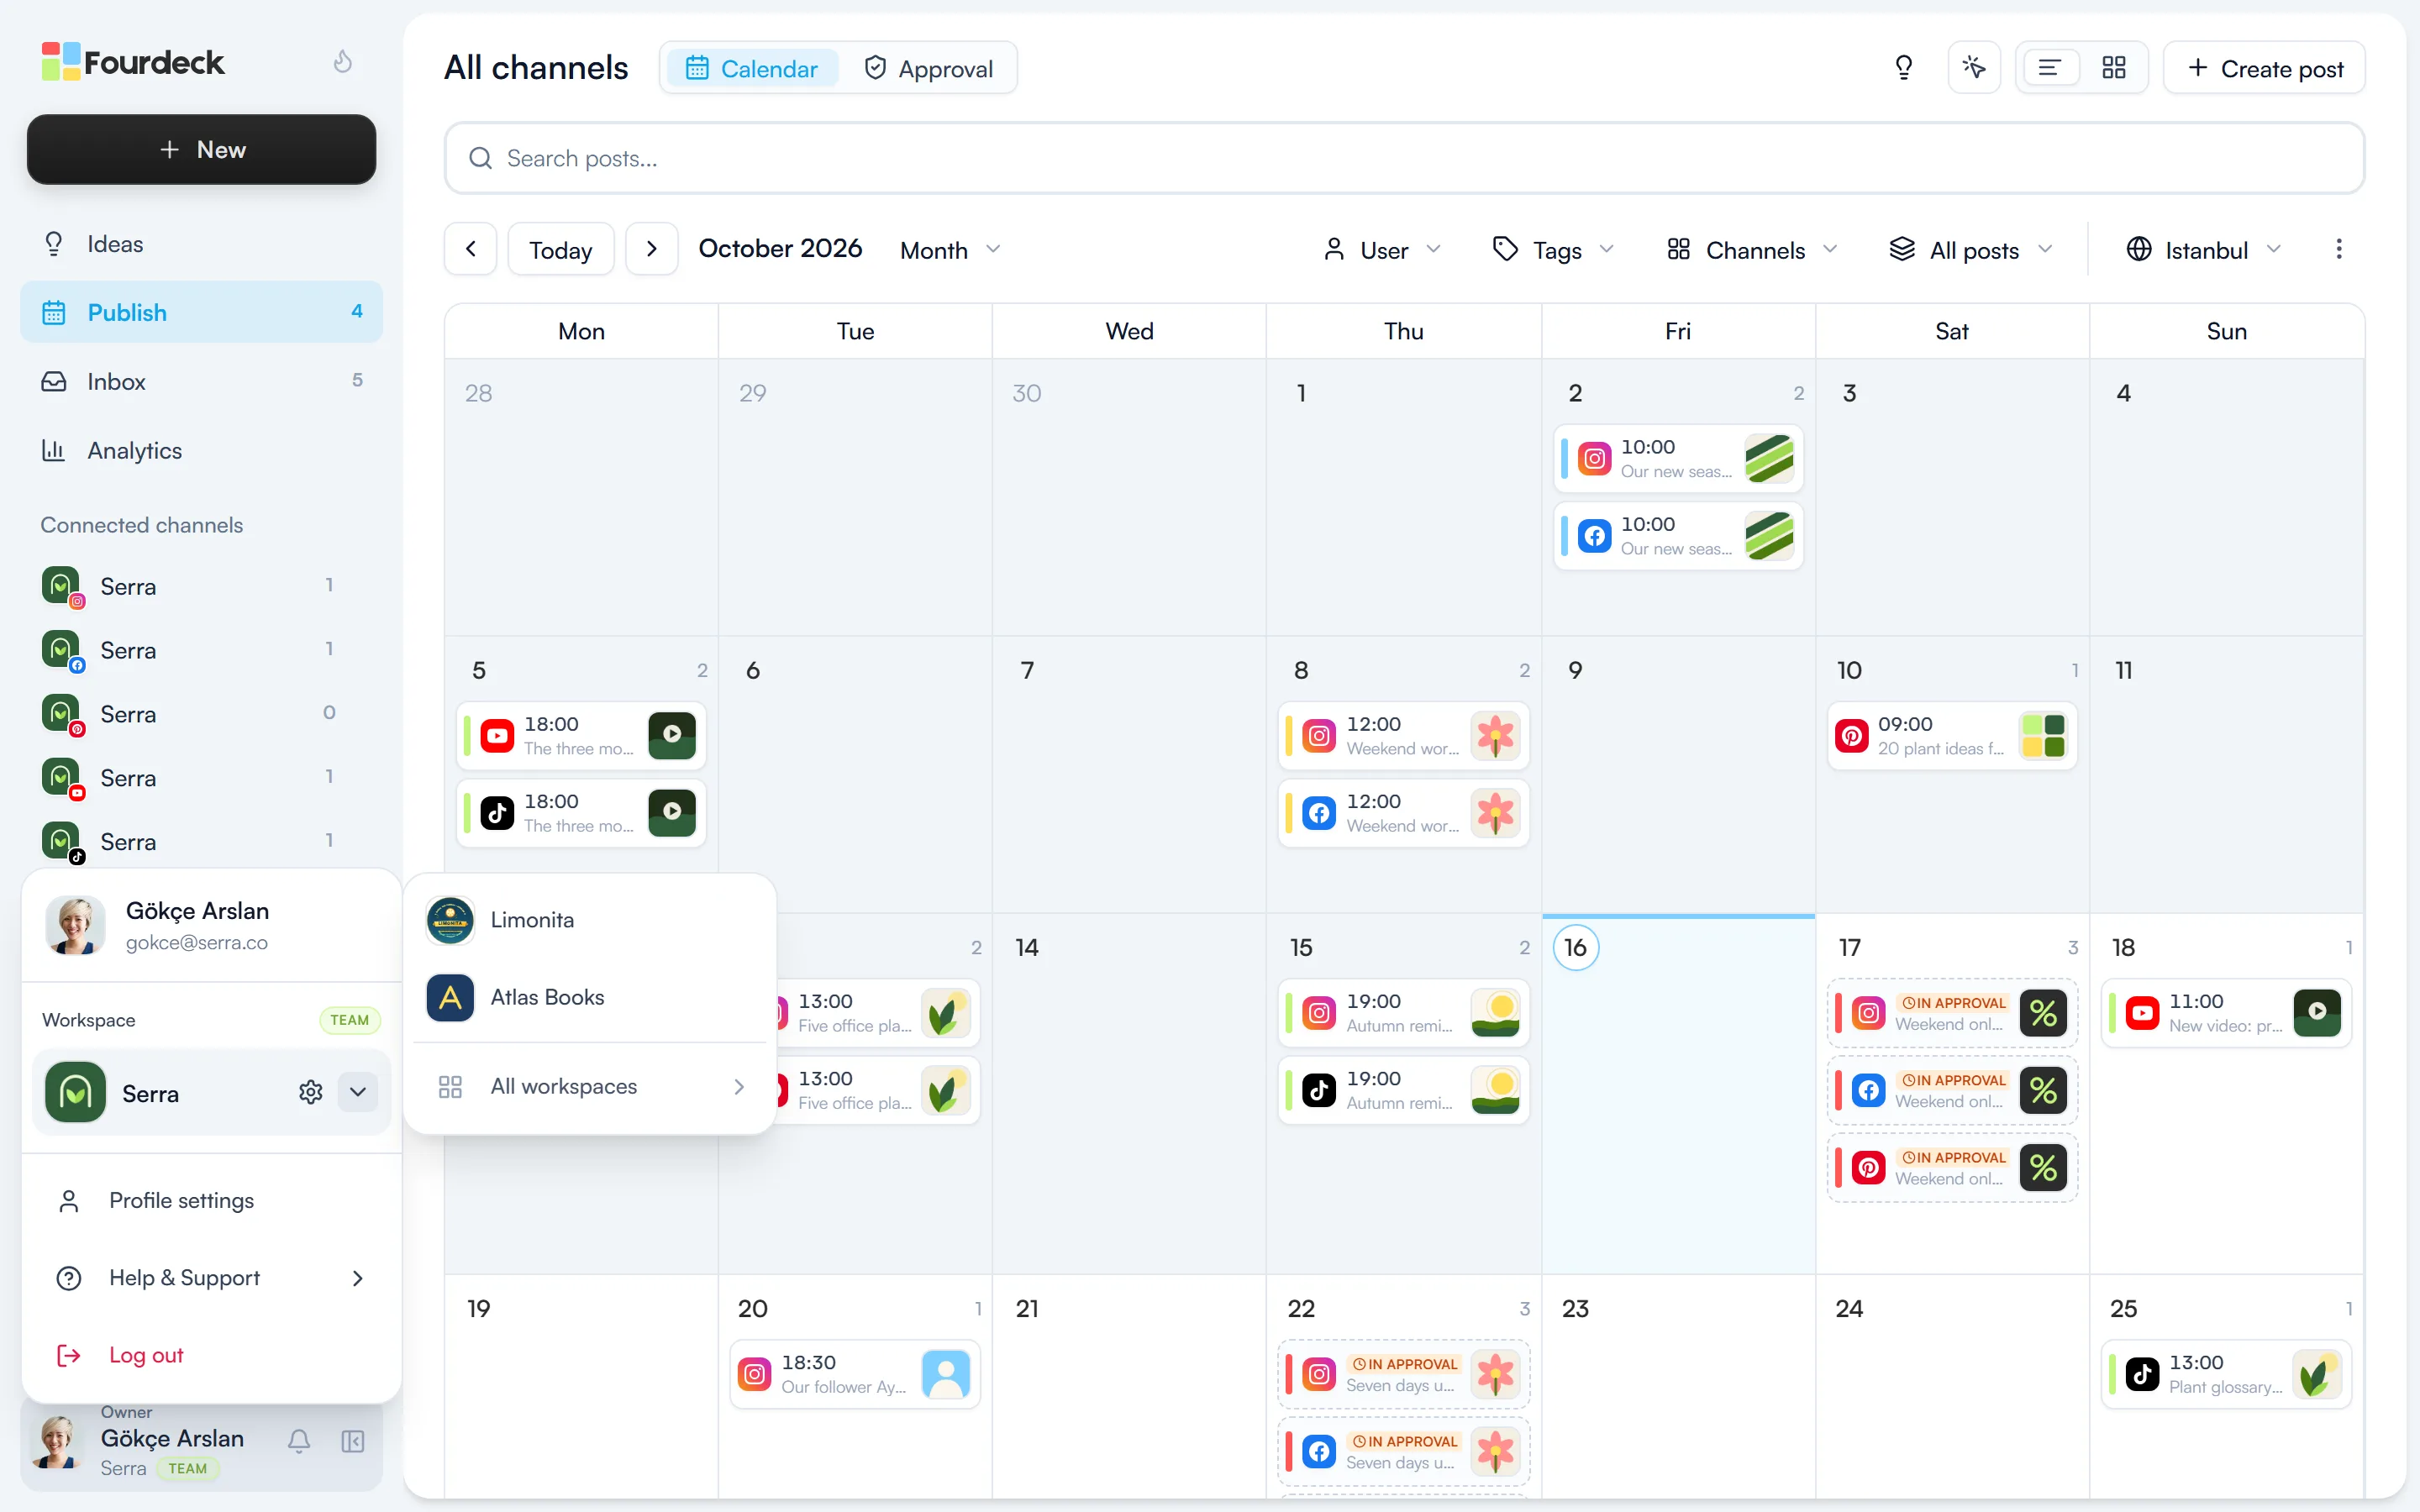
Click your name in the bottom-left corner. The Workspace section of the menu shows the workspace you're in. The arrow next to it lists your other workspaces; click one and Fourdeck switches to it. “All workspaces” takes you to the Workspaces page.
Workspace settings
Under Settings → General you change the workspace logo and name. A 180×180 pixel logo works best, and the name can be up to 25 characters. The owner and admins can change these settings.
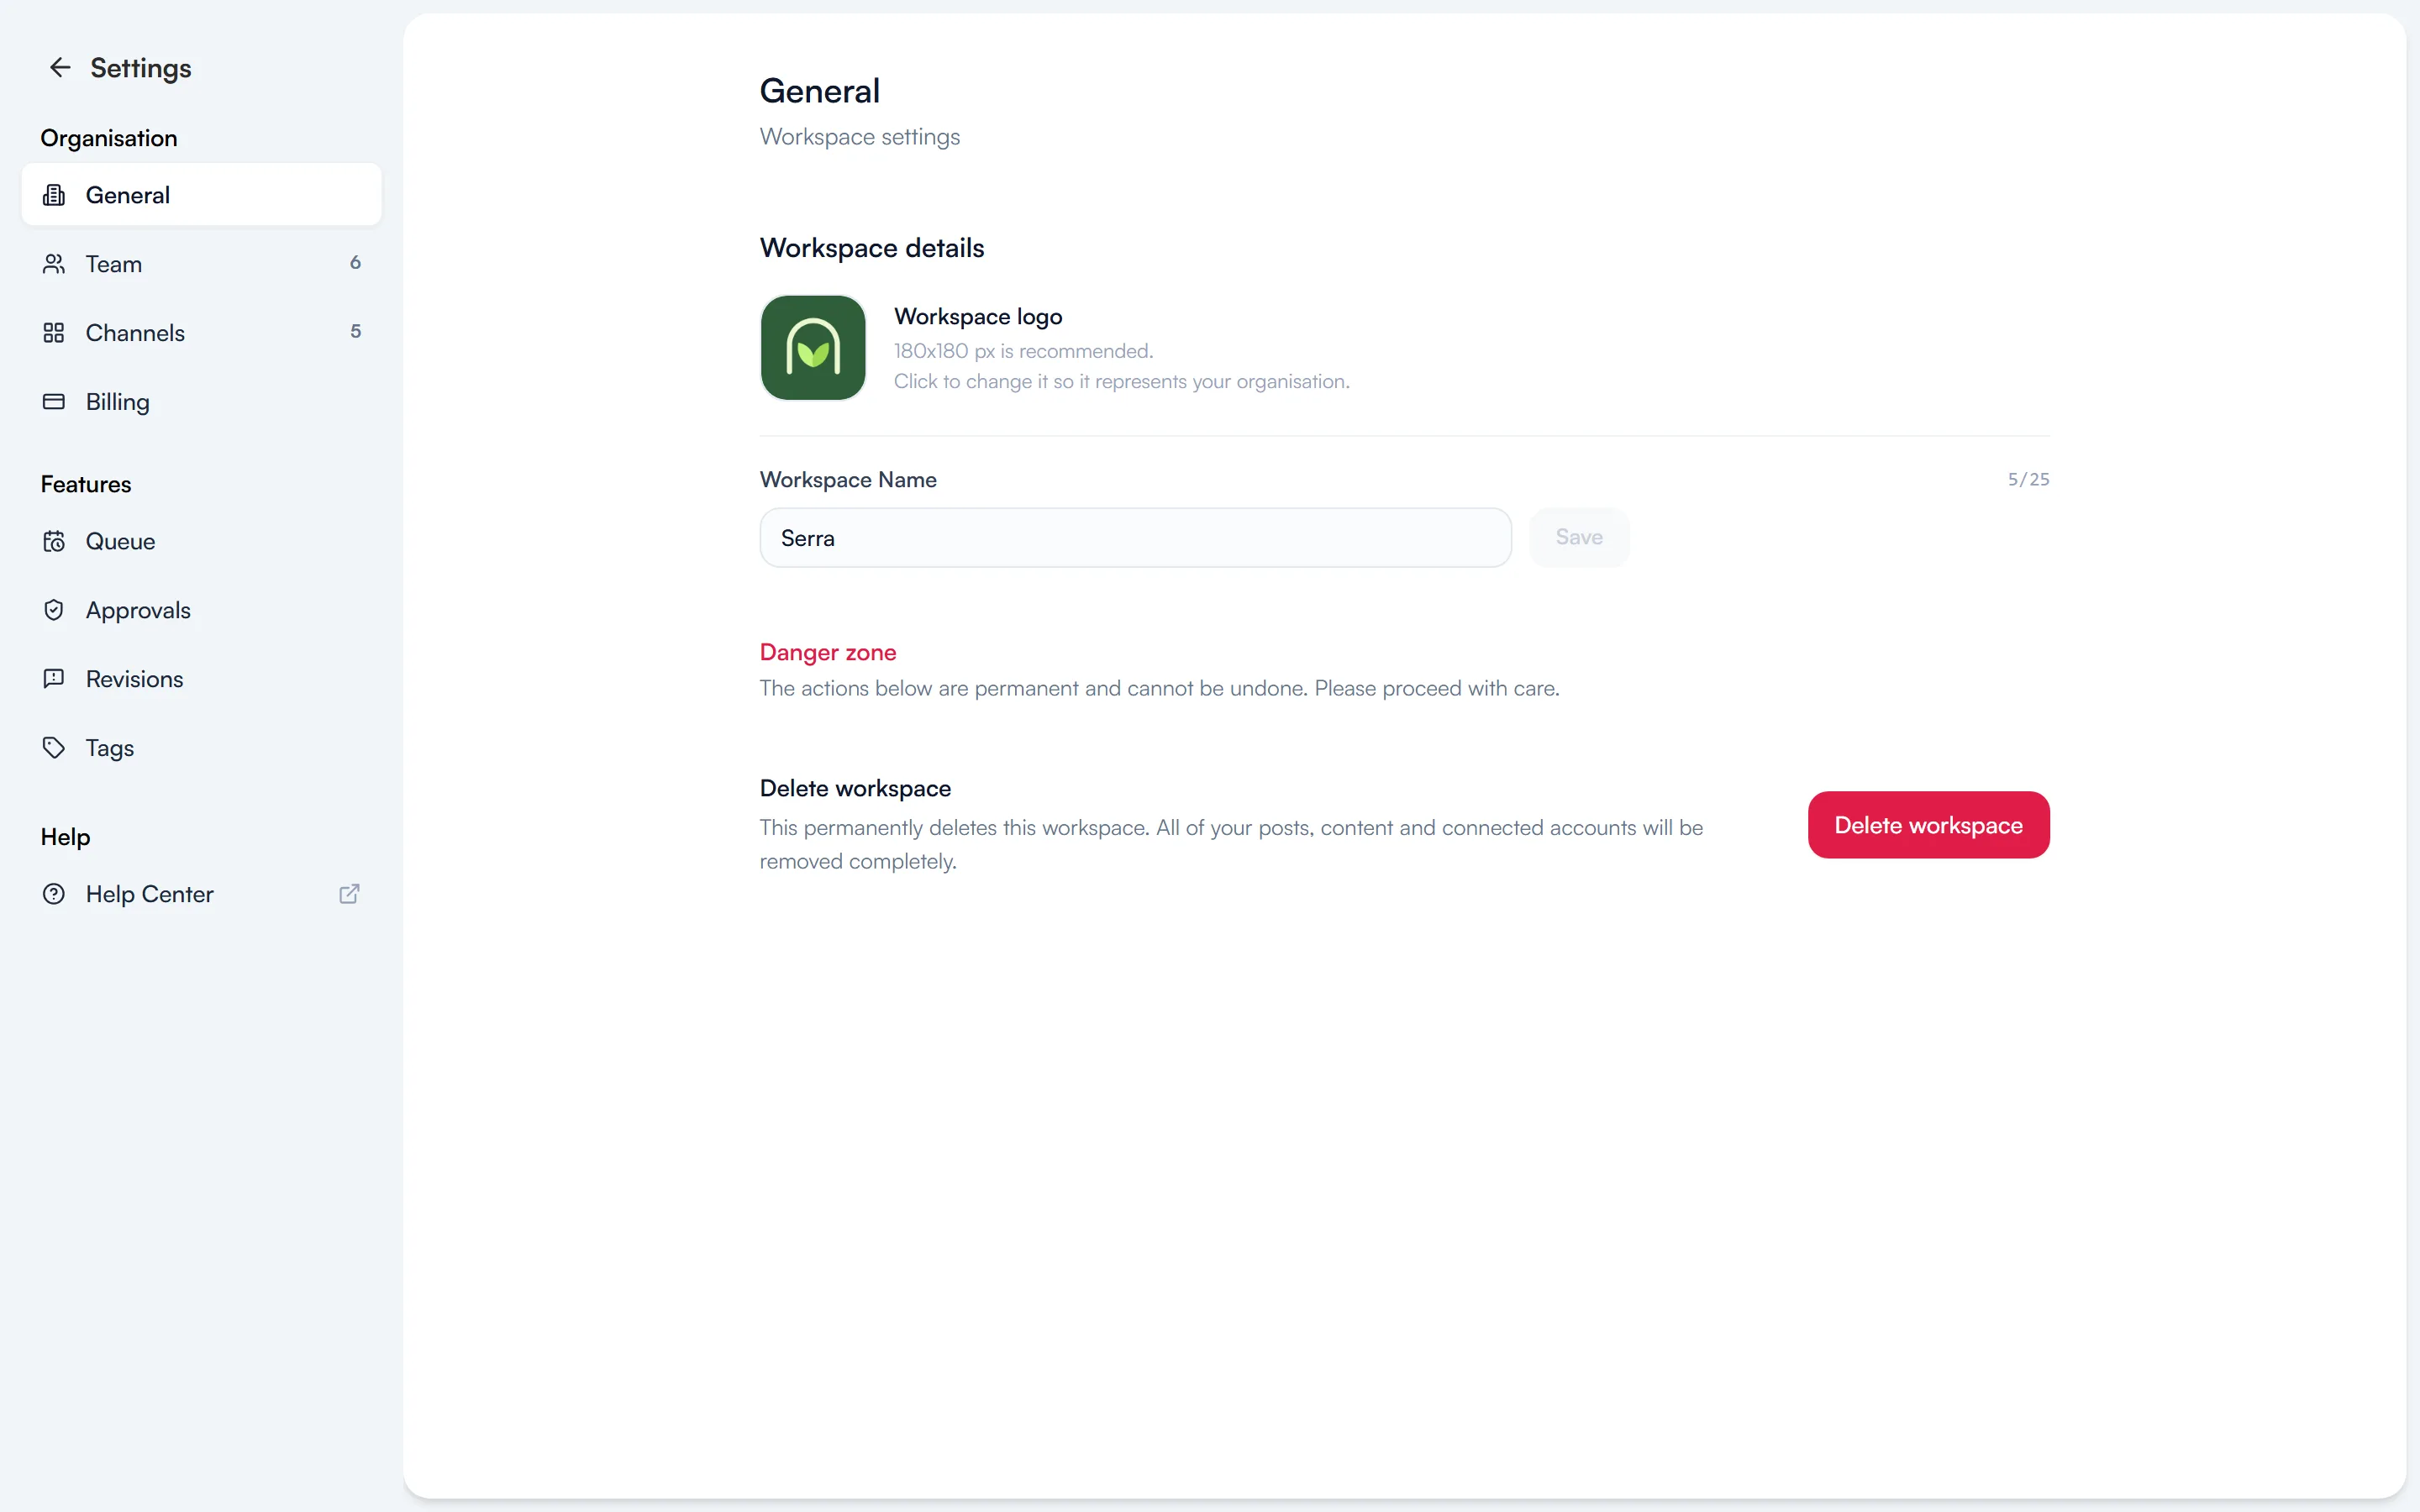
The “Delete workspace” button at the bottom of the page removes the workspace for good, along with its posts, content and connected accounts. Because it can't be undone, you're asked to type the workspace name to confirm.